Each Custom Card is wrapped in a sandboxed iframe. This means each card is completely isolated from the Dixa interface and any other custom card.
💡 It's possible to execute JavaScript in the custom card, eg, fetching data, validating input, etc, as well as use CSS to style the card.
⚠️ It's also possible to create endless loops when writing JavaScript, thus making the interface unresponsive.
⚠️ When fetching data using JavaScript (with eg, Fetch API), please be aware of CORS on the receiving endpoint.
Dixa makes all requests to your "Hook URL" server-side. This means you can IP allowlist the IP addresses we use to access data on your endpoint as an additional security measure.
We currently pool through 3 IP addresses when making requests from the Dixa platform:
- 52.17.249.106/32
- 54.77.120.43/32
- 34.251.109.243/32
It is possible to add multiple Custom Cards.
Go to Settings, Integrations, select Custom Cards, and "Add custom card".
You can add some personal flair or easy identification of custom cards by uploading an icon. The icon will be shown in custom card's own settings page, the integration overview and in the conversation sidebar. By using icons you can easily find the right card even if it's collapsed.
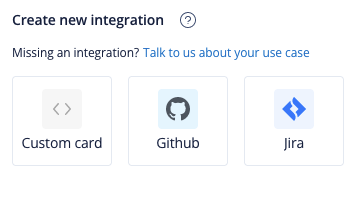
Go to Settings and Integrations, from the settings overview you can make a new custom card by selecting Custom card from the Create new integration section and from here you'll find an Upload icon button. Click it and select the appropriate file on your machine.
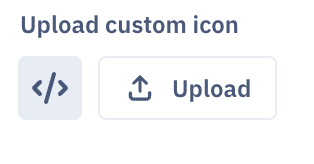
The same steps can be done to an existing custom cards.
By default, custom cards are sorted alphabetically. So if you have multiple custom cards that you want to display in a specific order, you can prefix the name of the custom card (Eg, 0_Order Status, 1_Booking Information)
Please note that sorting applies only to custom cards and the older generation of native integrations (Shopify 1.0, Magento, Salesforce). New-generation native integrations, such as Jira, GitHub, Linear, and Shopify (2.0), are also sorted alphabetically and will always be displayed above any custom cards.
Custom cards have a timeout of 10 seconds (10,000 ms), which, if encountered, will be presented with the following error:
TCP idle-timeout encountered for Custom / Conversation Card
If you need full screen to get a good look at media sent in through forms, it's nice to use your monitor's full capacity.
We allow requestFullscreen() from our Custom cards.