With Custom Cards, you can display information from external sources (like your CRM system) in the conversation view in Dixa, so the agent has all the necessary information available to them without switching between systems. All you need to do is add some code.
You can add multiple Custom Cards.
You can get information by searching for the customer's email address and/or phone number (E.164 format). To give some examples, we see customers using Custom Cards for:
- Order history
- Shipping status of the latest purchase
- Subscription status
- Invoice history
The possibilities are virtually endless.
The card is used to fetch data from an HTTP API, and you must add an HTTPS API endpoint to the hook URL with the default port 443 exposed, with a JSON payload response.
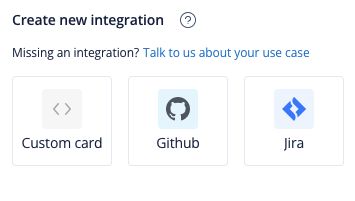
Adding a Custom Card in Dixa
Go to Settings -> Integrations -> Custom Cards
- Enter a Title for the Custom Card. This will be the header in the conversation view.
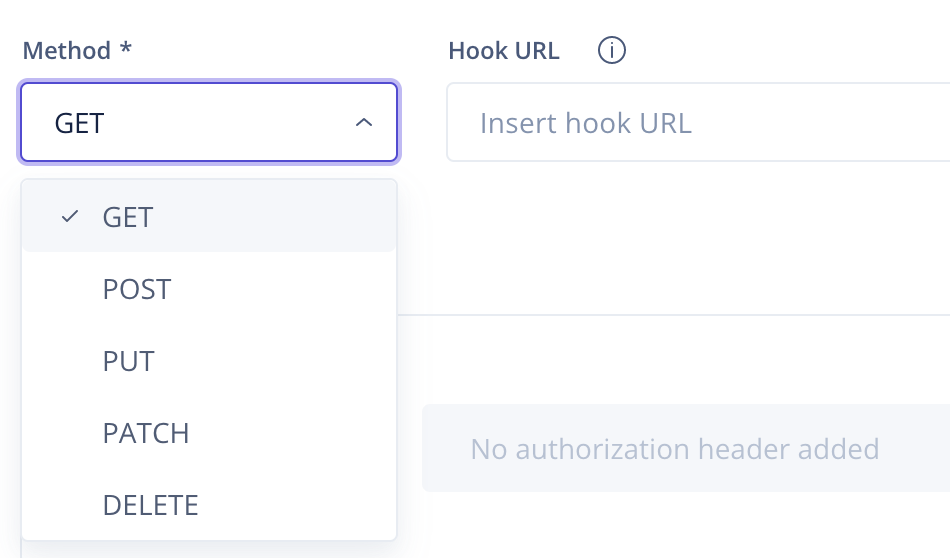
- Enter the Hook URL (the URL to the endpoint you want to fetch data from) and choose the request method.
- (optional) Add an Authorization method or an OAuth authorization if the endpoint requires it.
- If everything is filled in correctly, your request returns a data object. And it's time to fill out the data template to display the conversation every time it is opened. You can read about displaying data by following the link.
- You can use placeholders in the Hook URL, headers, and request body. Placeholders change per conversation. If a customer emails your agents, insert
{{a_email}}to the hook URL, and it will be changed tocustomer@email.comin the conversation. You can find a list with descriptions of each placeholder here. - Follow the link for tips and tricks.